Blog
Expert Vape Cartridge Maintenance Workflow: Keep It Fresh
Sep
Vape cartridge maintenance sounds tedious, right? Most people never realize that neglect can lead to electrical failure and ruined concentrates within weeks. But it turns out the real secret is that gathering just a few simple tools upfront makes the entire process faster and way less stressful than you ever thought possible.
Table of Contents
- Step 1: Gather Essential Maintenance Supplies
- Step 2: Disassemble Vape Cartridge Safely
- Step 3: Clean Connections and Components Thoroughly
- Step 4: Inspect For Damage and Replace If Necessary
- Step 5: Reassemble and Test the Cartridge Functionality
Quick Summary
| Key Point | Explanation |
|---|---|
| 1. Gather essential maintenance supplies | Assemble isopropyl alcohol, microfiber cloths, and cotton swabs to effectively clean your vape cartridge. |
| 2. Disassemble carefully to avoid damage | Power off the device and gently unscrew the cartridge to prevent electrical or mechanical failures. |
| 3. Clean components meticulously | Focus on connection points and the heating element using minimal pressure to preserve functionality. |
| 4. Inspect for damage before reassembly | Look for cracks or corrosion to ensure safe use and avoid further issues with your cartridge. |
| 5. Reassemble and test functionality | Ensure smooth connections and perform a test to verify that the device works properly and delivers quality vapor. |
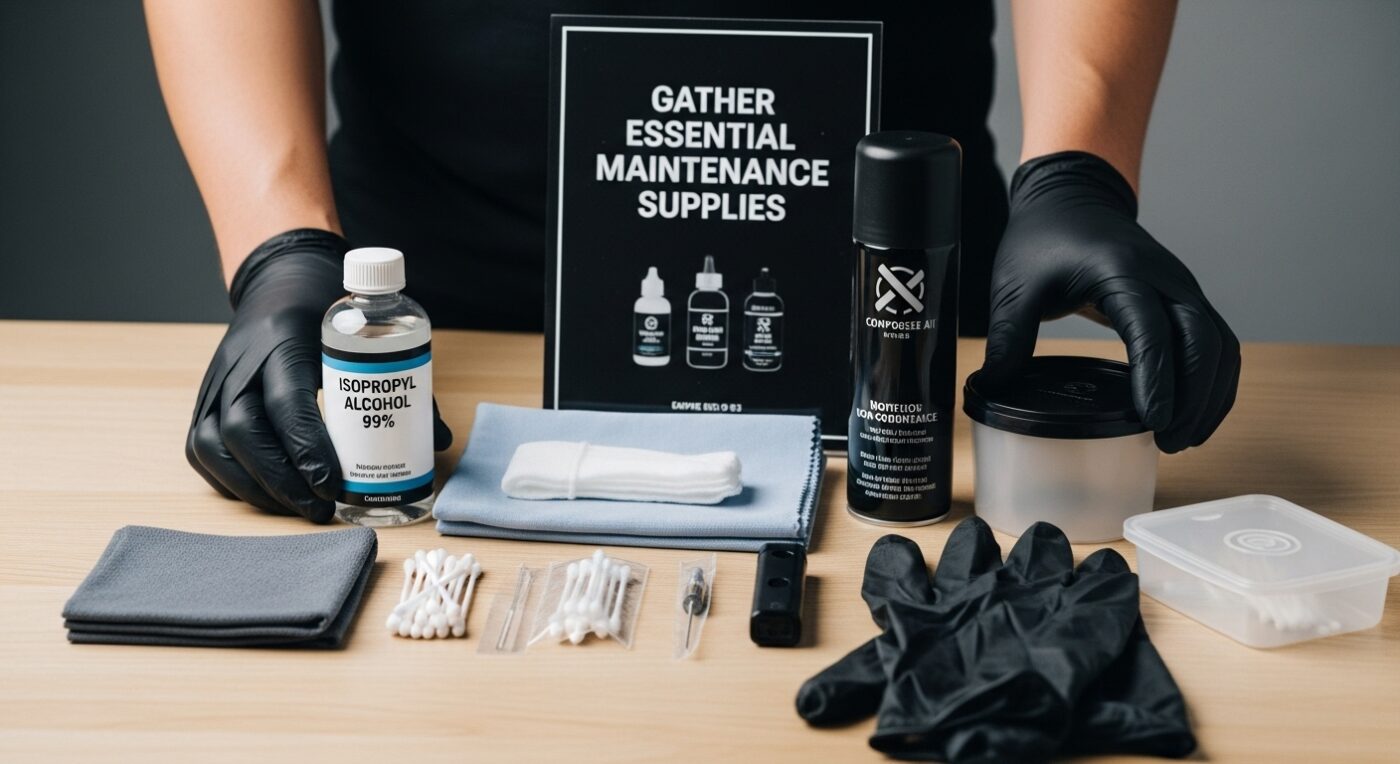
Step 1: Gather Essential Maintenance Supplies
Successful vape cartridge maintenance begins with strategic preparation. Before diving into the cleaning process, assembling the right tools and materials will streamline your workflow and protect your valuable cannabis concentrate equipment. Professional maintenance requires precision and the correct supplies.
Your core maintenance kit should include several key components that enable thorough and safe cartridge care. A comprehensive set of supplies will help you address potential issues like residue buildup, airflow blockages, and performance degradation. Recommended essential tools include:
- Isopropyl alcohol (99% concentration preferred)
- Soft microfiber cloths
- Cotton swabs
- Compressed air canister
- Protective gloves
- Small non-conductive container
Quality isopropyl alcohol serves as the primary cleaning agent, effectively dissolving sticky concentrate residues without leaving harmful chemical traces. The 99% concentration ensures rapid evaporation and minimal moisture retention, which is crucial for electronic vaping components. Microfiber cloths provide a lint-free surface for delicate cleaning, while cotton swabs enable precision cleaning in narrow spaces.
The compressed air canister becomes an invaluable tool for removing microscopic debris from connection points and internal chambers. By using short, controlled bursts, you can dislodge potential blockages without risking moisture damage. Protective gloves are non-negotiable, protecting both your hands from cleaning chemicals and preventing potential skin oil transfer to sensitive electronic components.
Before beginning maintenance, organize your workspace on a clean, flat surface with good lighting. Ensure you have ample ventilation, especially when using isopropyl alcohol. A small non-conductive container will help you safely disassemble and organize cartridge components during the cleaning process.
By meticulously gathering these supplies, you establish a professional foundation for your vape cartridge maintenance workflow.
Below is a summary of essential vape cartridge maintenance supplies, including their recommended specifications and purposes, to help you prepare for an efficient cleaning workflow.
| Tool/Supply | Recommended Specification | Purpose |
|---|---|---|
| Isopropyl alcohol | 99% concentration preferred | Primary cleaning agent for dissolving residue |
| Microfiber cloths | Soft, lint-free | Delicate cleaning and drying of components |
| Cotton swabs | Standard, tightly wound | Precision cleaning in narrow spaces |
| Compressed air canister | Short bursts, moisture-free | Removing debris from connection points and chambers |
| Protective gloves | Nitrile or latex | Protect hands from chemicals and prevent oil transfer |
| Non-conductive container | Small, static-free | Hold and organize disassembled cartridge components |
![]() The right preparation transforms a potentially complex task into a straightforward, systematic procedure that preserves your device’s performance and longevity.
The right preparation transforms a potentially complex task into a straightforward, systematic procedure that preserves your device’s performance and longevity.
Step 2: Disassemble Vape Cartridge Safely
Disassembling your vape cartridge requires precision and patience. This critical step sets the foundation for thorough maintenance and ensures you can access every component without causing damage. Careful handling prevents potential electrical or mechanical failures that could compromise your device’s performance.
Begin by powering down your vaping device completely. If your device has a removable battery, carefully extract it to eliminate any potential electrical current. Place the battery on a non-conductive surface away from your primary workspace. For devices with integrated batteries, ensure they are fully discharged before proceeding.
Crucial warning signals that indicate immediate disassembly necessity include:
- Persistent burnt taste during inhalation
- Decreased vapor production
- Visible residue around connection points
- Inconsistent heating performance
When removing the cartridge, apply gentle, consistent pressure. Most cartridges connect via 510 threading, which requires a slight counterclockwise rotation. Support the base of the cartridge with your non-dominant hand while carefully unscrewing with the other. Avoid applying excessive force, as this can damage the delicate threading or internal components.
Once detached, inspect the connection points for any accumulated residue or buildup. Use a cotton swab lightly dampened with isopropyl alcohol to clean these areas gently. The goal is removing potential obstruction without introducing excess moisture. Learn more about optimal vape maintenance techniques to extend your device’s lifespan.
Pay special attention to the ceramic or metal heating element within the cartridge. These components are extremely fragile and can be easily damaged by aggressive cleaning techniques. Position your disassembled components on a clean, lint-free surface lined with paper towels to catch any potential residual concentrates.
Successful disassembly means you have carefully separated each component without applying undue stress.
The table below provides a quick troubleshooting reference for common vape cartridge issues, their likely causes, and the appropriate maintenance actions described in this guide.
| Problem | Likely Cause | Maintenance Solution |
|---|---|---|
| Persistent burnt taste | Residue buildup on heating element | Thoroughly clean connections |
| Decreased vapor production | Blocked airflow channels | Clean airflow channels, swab |
| Visible residue at connection | Dirty or sticky contact points | Swab with isopropyl alcohol |
| Inconsistent heating performance | Corroded/dirty contacts or threads | Clean threads and contacts |
| Cartridge wobbling or loose | Damaged threading | Inspect and consider replacement |
| Unusual taste after cleaning | Residual cleaning solution present | Air dry components thoroughly |
Step 3: Clean Connections and Components Thoroughly
Cleaning vape cartridge connections and components represents the most critical stage of maintenance, where precision determines future performance. Thorough cleaning prevents potential electrical failures and ensures optimal concentrate delivery. Your goal is removing accumulated residue without introducing moisture or causing mechanical damage.
Begin by preparing your workspace with 99% isopropyl alcohol, cotton swabs, and microfiber cloths. Focus first on the electrical connection points, which are most vulnerable to performance degradation. The 510 threading and contact points require meticulous attention, as even microscopic buildup can interrupt electrical conductivity.
Critical cleaning indicators that signal immediate attention include:
- Visible dark or sticky residue around connection points
- Reduced electrical conductivity
- Inconsistent heating performance
- Unusual taste during vaporization
Dip a cotton swab into isopropyl alcohol, ensuring it is damp but not saturated. Gently rotate the swab around the connection threads and metal contacts, removing any visible buildup. Use a dry portion of the microfiber cloth to immediately absorb any excess liquid. Patience is key – rushed cleaning can introduce moisture that damages internal electronics.
For the cartridge’s ceramic heating element, use an extremely light touch. Compressed air can help remove loose particles without physical contact. When using cotton swabs, apply minimal pressure to prevent potential fracturing of delicate ceramic surfaces. Check out our comprehensive guide on maintaining vape performance for additional insights into preserving your device.
Pay special attention to the airflow channels within your cartridge. Blocked channels can significantly reduce vapor production and concentrate delivery. Use a dry cotton swab or compressed air to clear these pathways, ensuring no liquid cleaning agents enter these sensitive areas.
After cleaning, allow all components to air dry completely in a well-ventilated area. The absence of visible residue and a clean, smooth connection point signify successful maintenance. Your vape cartridge should now be prepared for reassembly, with electrical connections restored and performance potential maximized.
Step 4: Inspect For Damage and Replace If Necessary
Inspecting your vape cartridge for potential damage represents a critical maintenance stage that separates casual users from responsible enthusiasts. Comprehensive visual and functional examination prevents potential device failures and ensures consistent, safe cannabis concentrate consumption.
Begin your detailed inspection under bright, direct lighting. Utilize a magnifying glass or smartphone camera with zoom capabilities to examine components closely. Look for subtle indicators of wear that might compromise your device’s performance and safety.
Critical damage signs requiring immediate component replacement include:
- Visible ceramic element cracks or chips
- Compromised threading with visible deformation
- Significant residue buildup impossible to clean
- Exposed internal electrical components
- Discoloration around heating elements
Focus first on the ceramic heating element, which is most susceptible to structural damage. Hairline fractures can develop from repeated thermal cycling, potentially causing uneven heating or concentrate leakage. Even microscopic damage can significantly impact vapor quality and device reliability.
Carefully examine the connection threads for signs of corrosion or metal fatigue. Damaged threading can prevent secure attachment between cartridge and battery, leading to electrical connection issues. Run your fingertip gently along the threads, feeling for any irregular surfaces or rough spots that might indicate structural compromise.
Learn more about responsible vape maintenance practices to understand when replacement becomes necessary. Professional users recognize that proactive component replacement prevents potential safety risks and maintains optimal performance.
Check the cartridge’s exterior for any signs of physical trauma. Dents, punctures, or significant scratches can indicate internal damage not immediately visible. Pay special attention to areas around electrical contacts and heating chambers.
If you identify any concerning damage, replacement is the safest course of action. Attempting to repair advanced vaporization components often introduces more risk than simply acquiring a new cartridge. Your goal is maintaining a safe, reliable cannabis concentrate consumption experience that prioritizes both performance and personal safety.
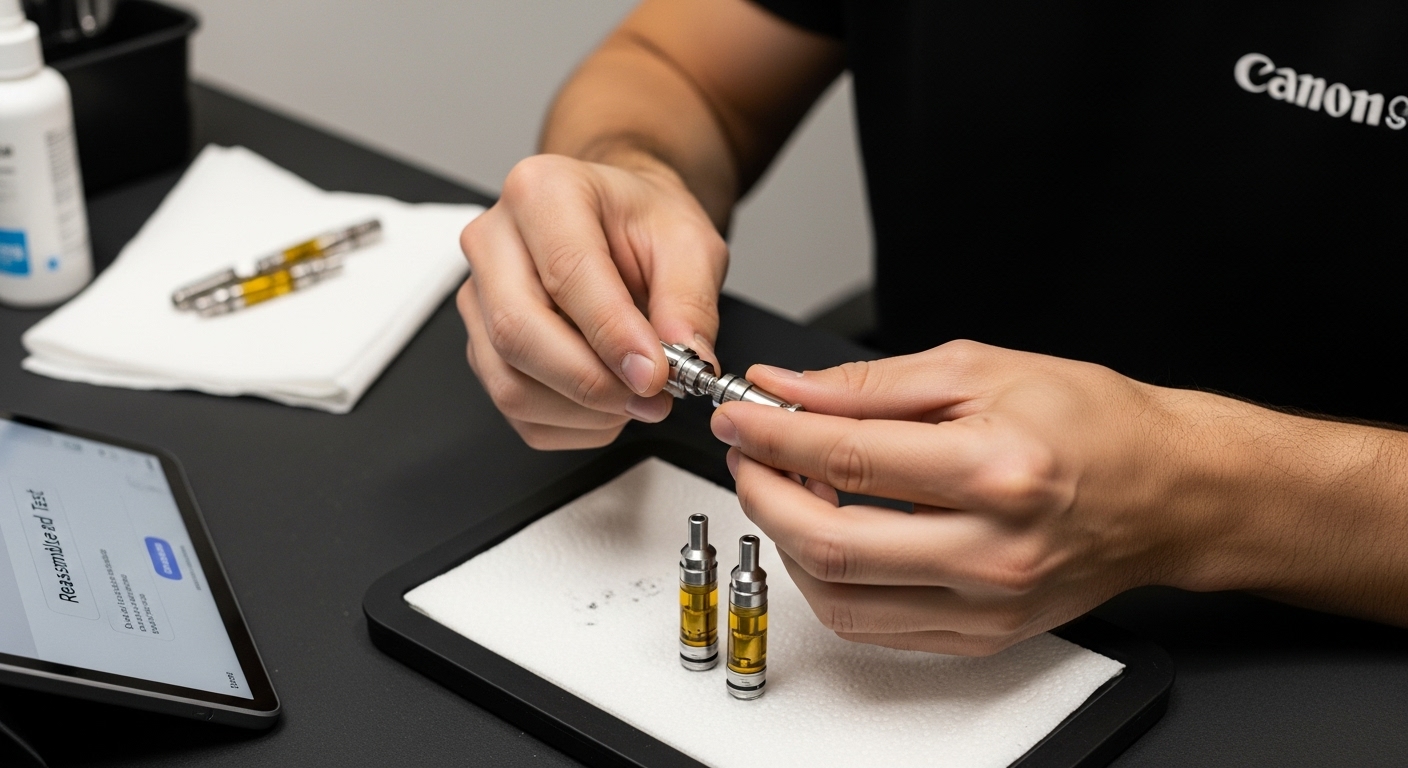
Step 5: Reassemble and Test the Cartridge Functionality
Reassembling your vape cartridge requires the same precision and attention to detail applied during disassembly. Proper reconnection ensures optimal performance and prevents potential electrical or mechanical failures. This final stage transforms your careful maintenance into a fully functional cannabis concentrate delivery system.
Begin by confirming all components are completely dry from previous cleaning steps. Align the cartridge threads carefully, using a gentle rotating motion to reconnect the components. Avoid applying excessive force – threads should connect smoothly without resistance. A properly aligned connection will feel smooth and consistent, with even tension across the threading.
Key reassembly verification points include:
- Smooth, complete thread engagement
- Consistent connection without wobbling
- No visible gaps between components
- Electrical contacts align perfectly
- No residual cleaning solution present
Once reconnected, perform an initial functionality test without introducing concentrate. Attach the cartridge to your battery and engage the activation mechanism. Observe the connection points and listen for any unusual sounds. A properly maintained cartridge should connect securely and show immediate electrical responsiveness.
Explore our comprehensive guide on vape performance optimization for additional insights into maintaining your device. The first test activation should produce a consistent heating response without any stuttering or irregular electrical behavior.
Carry out a brief visual inspection of the heating element during this initial test. Look for uniform heating and consistent color across the ceramic surface. Any signs of uneven heating or discoloration might indicate underlying issues that require further investigation.
Finally, conduct a minimal initial draw to verify vapor production and flavor quality. The first hit should be clean, with no residual cleaning solution taste and consistent concentrate delivery. A successful reassembly means your cartridge performs exactly as it did before maintenance, with potentially improved electrical connectivity and cleaner internal components.
Upgrade Your Vape Experience and Eliminate Hassle
Frustrated by constant residue buildup, inconsistent hits, or the stress of replacing worn cartridges? After following this expert maintenance workflow, you understand how small issues lead to big problems—sticky residue, clogged airflow, and unreliable performance can ruin your cannabis sessions and shorten device lifespan. With growing demand for purity and convenience, why spend time on messy upkeep when there is a superior solution within reach?
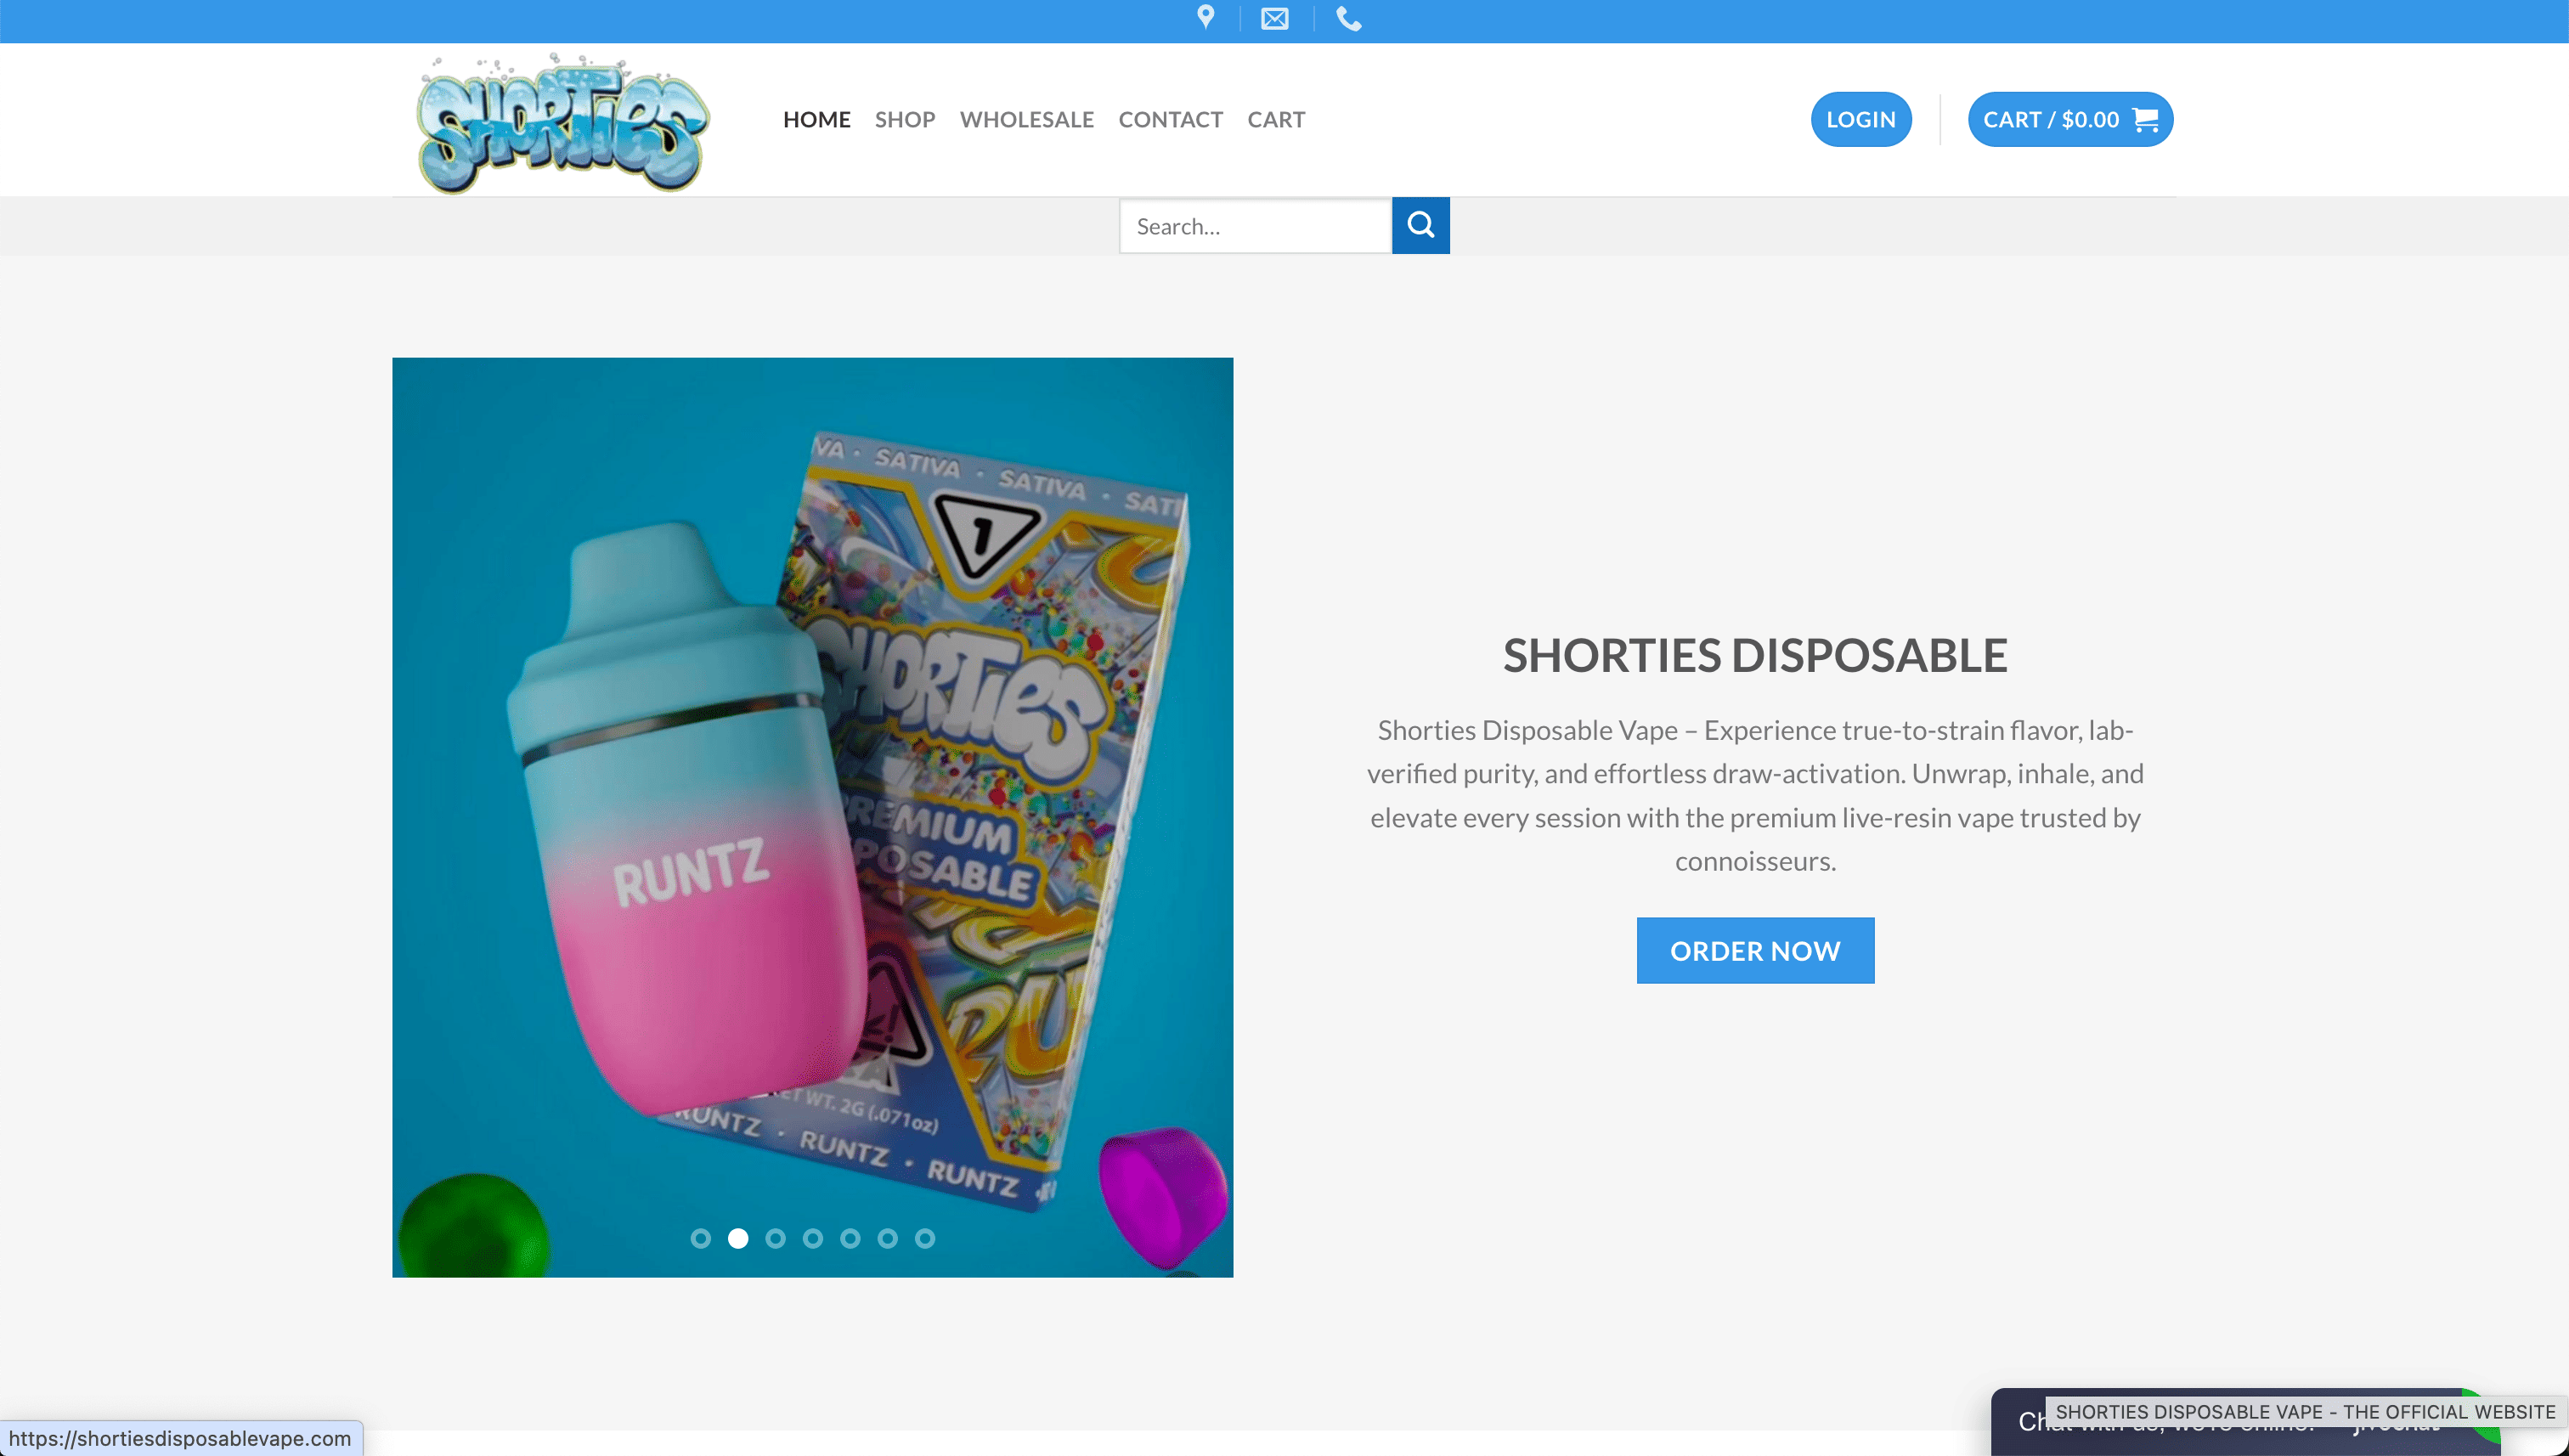
Experience the advantage of hassle-free vaping with Shorties Disposable high-capacity vape devices. Our products are designed to keep every hit fresh, reduce maintenance worries, and guarantee verified quality through rigorous lab testing. Shop now at https://shortiesdisposablevape.com for fast, safe access to premium live-resin technology, and browse helpful guides on device use and troubleshooting to get the most out of your experience. Join countless adults who have made the smart switch—discover what effortless cannabis vaping truly means today.
Frequently Asked Questions
What supplies do I need for vape cartridge maintenance?
You will need isopropyl alcohol (preferably 99% concentration), microfiber cloths, cotton swabs, a compressed air canister, protective gloves, and a small non-conductive container for disassembly and cleaning.
How can I tell if my vape cartridge needs cleaning?
Signs your cartridge may need cleaning include a persistent burnt taste, decreased vapor production, visible residue around connection points, and inconsistent heating performance.
What is the safest way to disassemble a vape cartridge?
To disassemble your vape cartridge safely, power down the device, remove the battery if applicable, and gently unscrew the cartridge using counterclockwise rotation while supporting its base to avoid damaging the threading.
How do I know if my vape cartridge is damaged and needs replacing?
Inspect for visible cracks in the ceramic heating element, compromised threading, significant uncleanable residue buildup, exposure of internal components, or discoloration. If any of these signs are present, replacing the cartridge is the safest option.
Recommended
- Step by Step Vape Maintenance for Optimal Performance – SHORTIES DISPOSABLE VAPE
- 8 Top Vape Maintenance Tips for Lasting Performance – SHORTIES DISPOSABLE VAPE
- Understanding Safe Vape Storage: Protecting Your Products – SHORTIES DISPOSABLE VAPE
- Optimize Your Vape Maintenance Workflow for 2025 Success – SHORTIES DISPOSABLE VAPE